
There is so much support about how to outline and write out the first draft of a novel, but what about the several drafts it takes after that to get to the finish line? I have been struggling with getting through the line edits of my novel and am always trying to find ways to bring a sense of play to my process. I remembered seeing a friend with a binded manuscript that she had printed out and I had a sense of joy instead of the usual dread, so I knew I needed to explore it more.
For the benefits of printing out your manuscript for editing, I recommend this article: Editing your book? Print it out.
So, here are my ten tips for binding your manuscript:
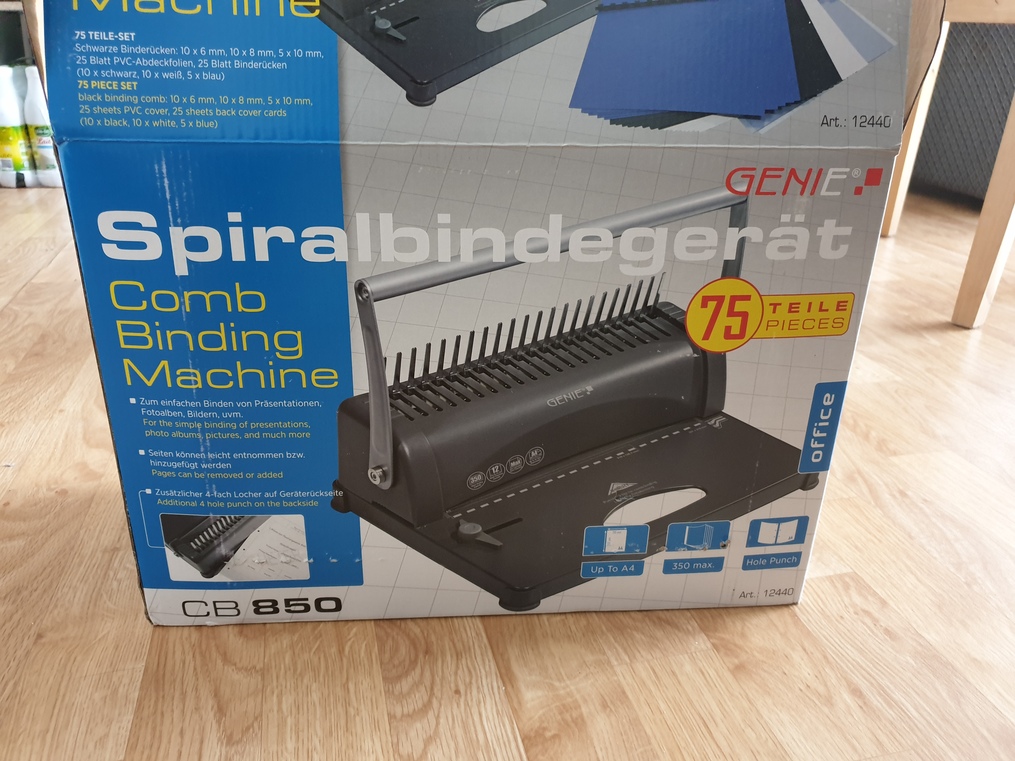
1.Buy your own binding machine.
Yes, you could go to a printers and have it done for you, but I like building the connection with my book by doing it myself. I am also a person that is into arts and crafts and found the binding process to be very zen. I also figured in the long run of my career as a writer, I will save money by having a machine to do a huge amount of printed out drafts in the future. My binding machine was around fifty dollars. If I had been more patient I could have found it for much less used on a website like ebay or craigslist. I bought this one from Genie.
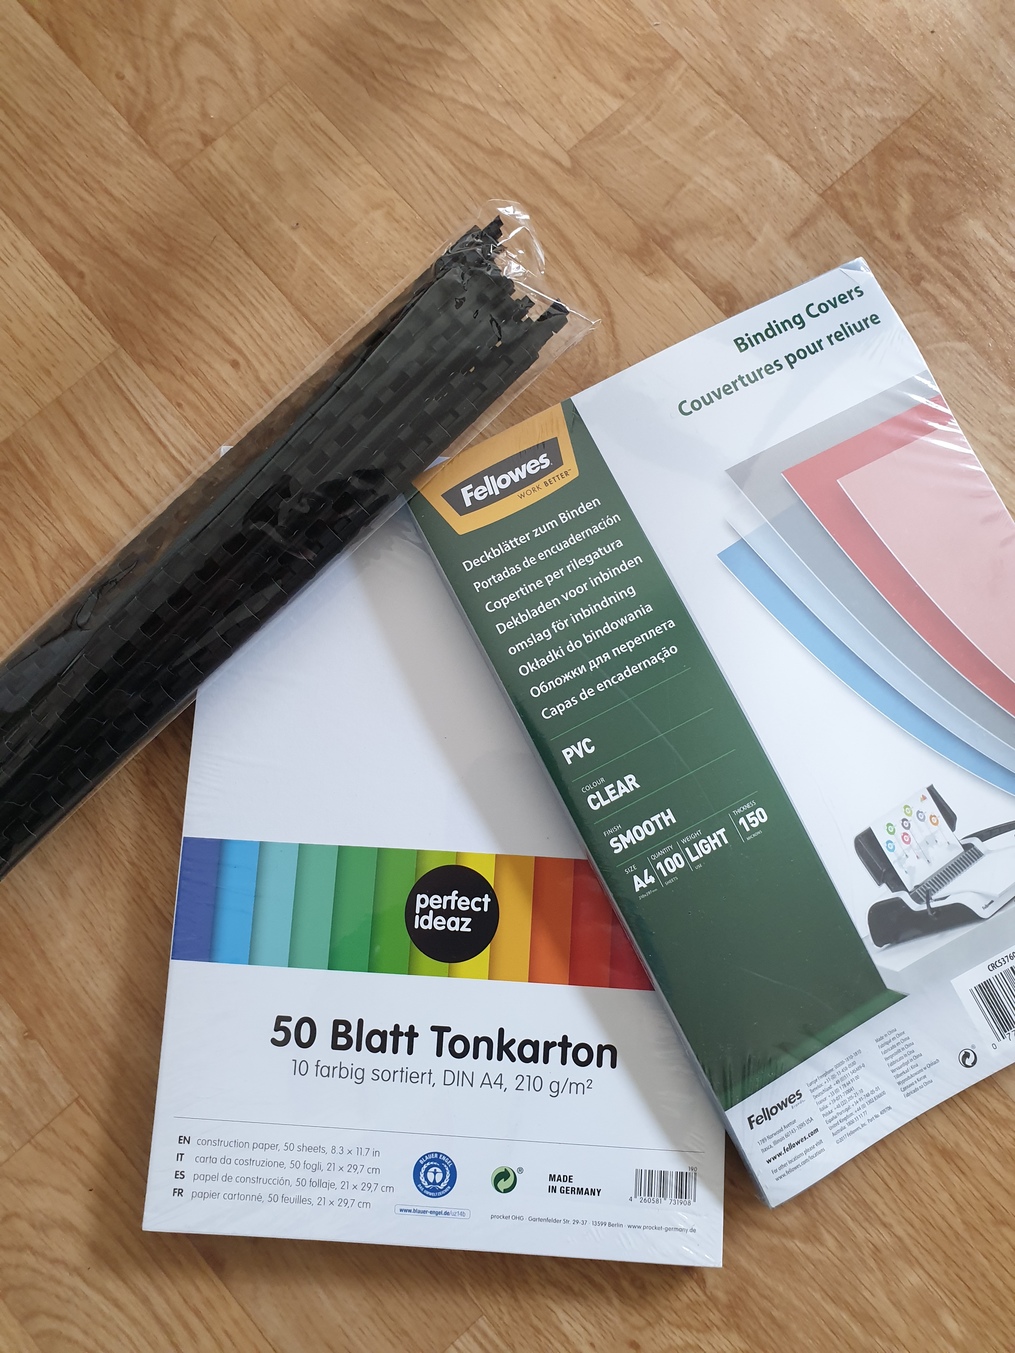
2.Buy clear plastic binding covers, construction paper, and very large plastic spines.
My binding machine came with a set of very small spines (better for small student reports), a couple of black, white, and blue construction paper sheets for the covers, and some plastic binding covers. I wanted bright colors so I bought a separate set of color construction paper.
I bought 45 mm comb size plastic spines that can hold 341-410 sheets of paper. The maximum sheet hold for my binding machine is 350 sheets. So, 45mm is the biggest it could handle. It looked giant when I first took them out of the box, but in the end they were perfect. I got a set of fifty plastic spines for around twenty dollars.
3. Research how you want to print out your manuscript.
I knew I wanted huge plastic spines so I could print my manuscript single-sided and add extras to the front. Some authors prefer making 5 or 6 inch margins and changing the font to something you aren't familiar with. I wanted to have more space to write on the whole page next to my manuscript and made it double-spaced so I would have plenty of room to write directly on the print out as well. I included page numbers for easy navigation. I am writing a YA book and my word count right now is 85,000 words double-spaced so it is about 300 pages. Your word count will effect your options for printing out.
In my revisions, I am focusing on sentence variety and filter words in my line-editing as well as working on some structural changes based on the feedback I got from critique partners. My thinking was I will need a lot of full blank pages to rewrite a lot of my sentences on the left page.
4.Plan on putting in some extras along with your manuscript.
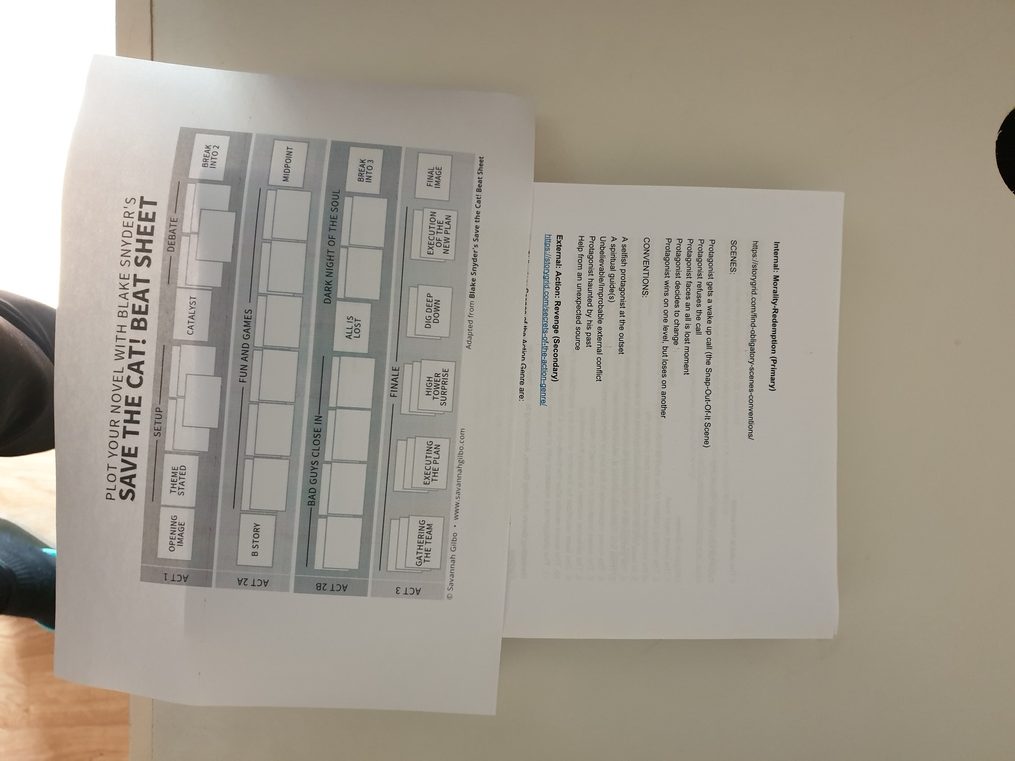
I included the Save the Cat big picture planner. I figure that will be a nice reference piece when I am out and about with my novel. I also included the print out of the Story Grid obligatory scenes and conventions for my internal genre (Morality-Redemption Story) my external genre (Action-Revenge Story), my subplot (Romance), and my marketing genres (YA and low fantasy). If you are in the developmental editing phase of your book, I highly recommend both of these books. I also added two versions of my first chapter that I am still working on and have detailed notes from a critique partner to incorporate.
I also included a cover page with my mailing and email address in case I lose it and some kind soul finds it and returns it to me.
5. Practice with scratch paper first.
I found my stack of papers from my second draft that I had already written all over and updated. I used that version to get used to hole punching. I made a couple of mistakes at first, but got the hang of it pretty fast. I went through the whole process with scrap paper before tackling my most recent draft.
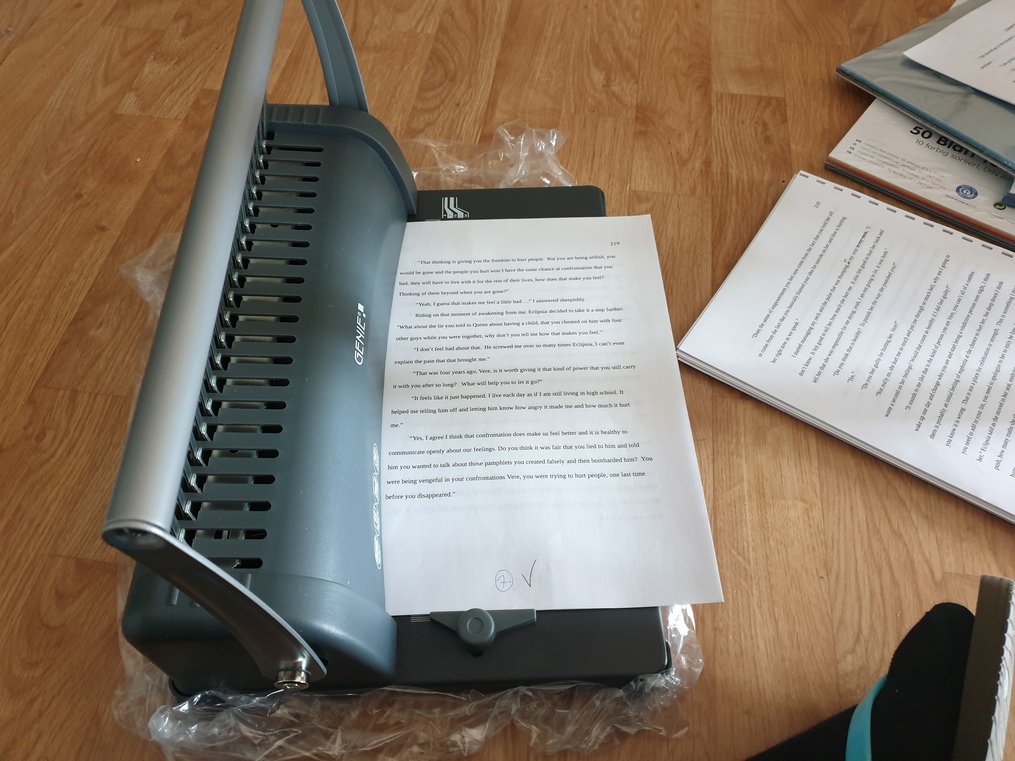
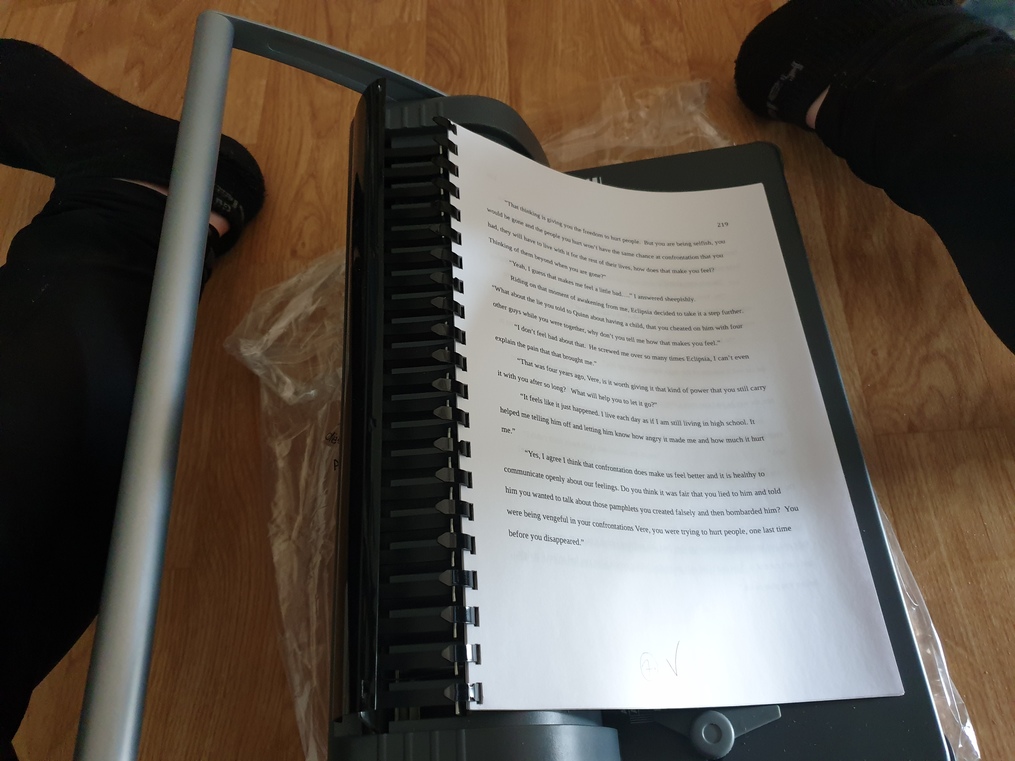
6. Work with five sheets at a time for hole punching.
My manual said that the binding machine could handle twelve sheets at a time for hole punching, but it was too hard to push down on the bar at that level and then the sheets would merge to the side and mess up the perforations. I had a podcast going in the background as I slowly made my way through the whole manuscript, it was very zen and repetitive after a long day of work and it felt good to do something mindless yet still working towards my writing goals.
(Binding Machine Perforated Paper onto the Plastic Spine)
7.Find a video to see how to place the papers over the spine's combs.
My binding machine came with a nice manual but I couldn't visualize it until I saw a video. I also recommend doing a maximum of five sheets when it comes to placing the papers over the spine's combs when binding. With practice I figured out how to hover them over the combs and get the whole edge to connect on the first try. Very satisfying! Don't forget to start with the back cover and finish with the front cover and clear plastic cover.
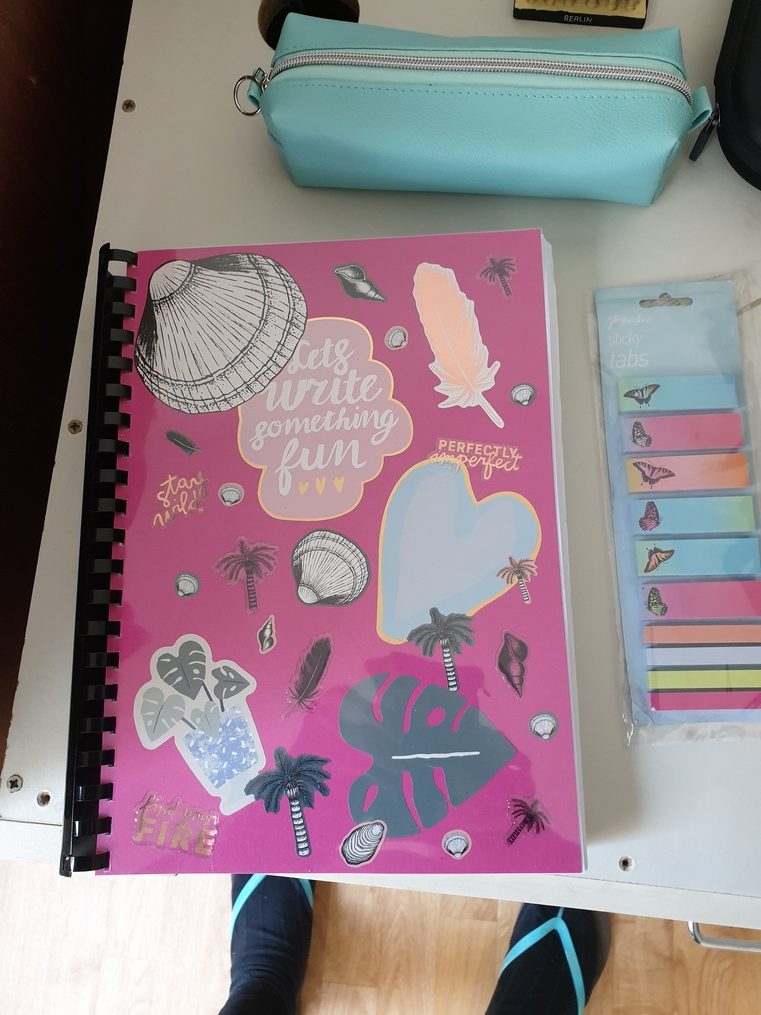
8.Turn the search for accessories for editing into an artist date.
Julia Cameron's The Artist's Way talks about removing creative blocks by doing an outing for yourself each week to nourish your inner artist. While I waited for my binding machine to come in the mail I went to my local stationary store and got stickers, highlighters, color dividers / post-its and color pens to decorate my manuscript once it was bound. Another small thing to make me feel motivated to keep working on it. I also made sure to have two covers, one with color construction paper and the clear plastic over it to protect the stickers.
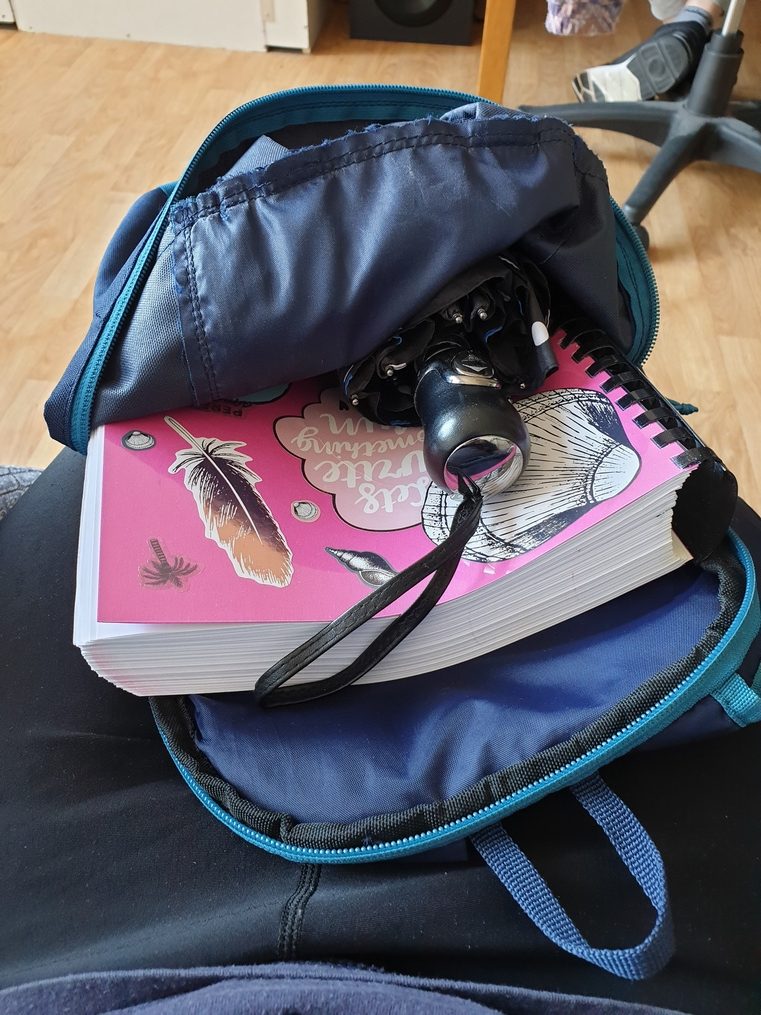
9.Wrap your manuscript in an old t-shirt to protect the edges when carrying it around.
I got this tip from my husband. Lugging this big guy everywhere is going to put some serious wear and tear on the edges of the pages. Wrapping fabric around it will keep it from getting worn out so fast and the edges getting caught on zippers and folded all over the place.
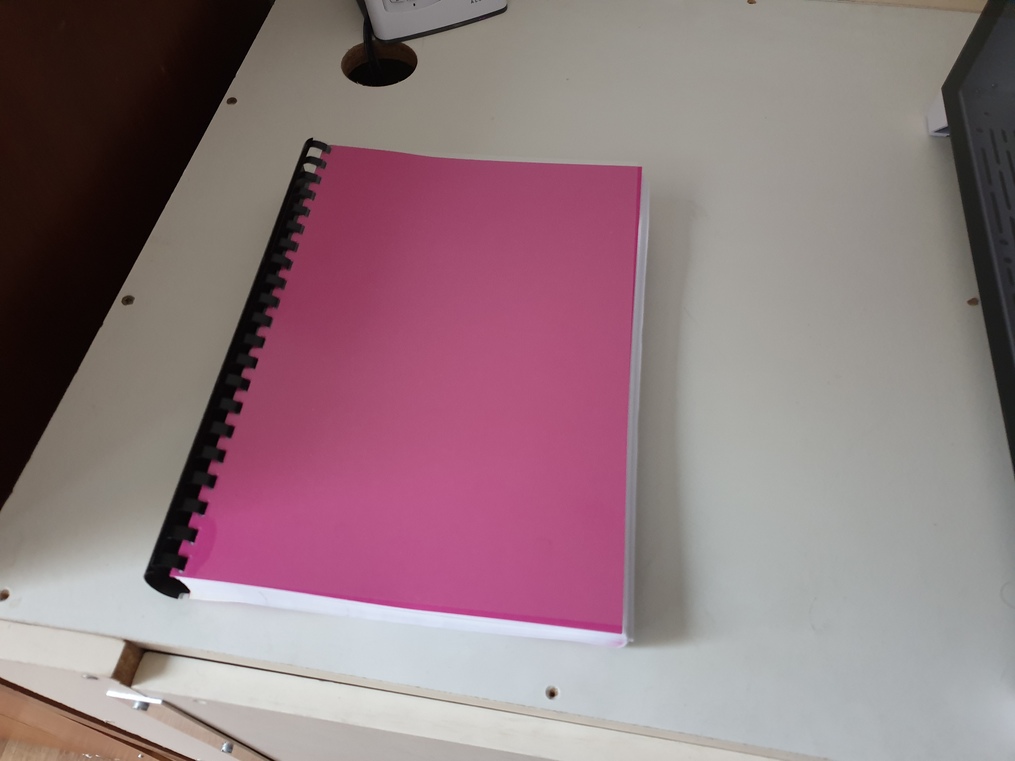
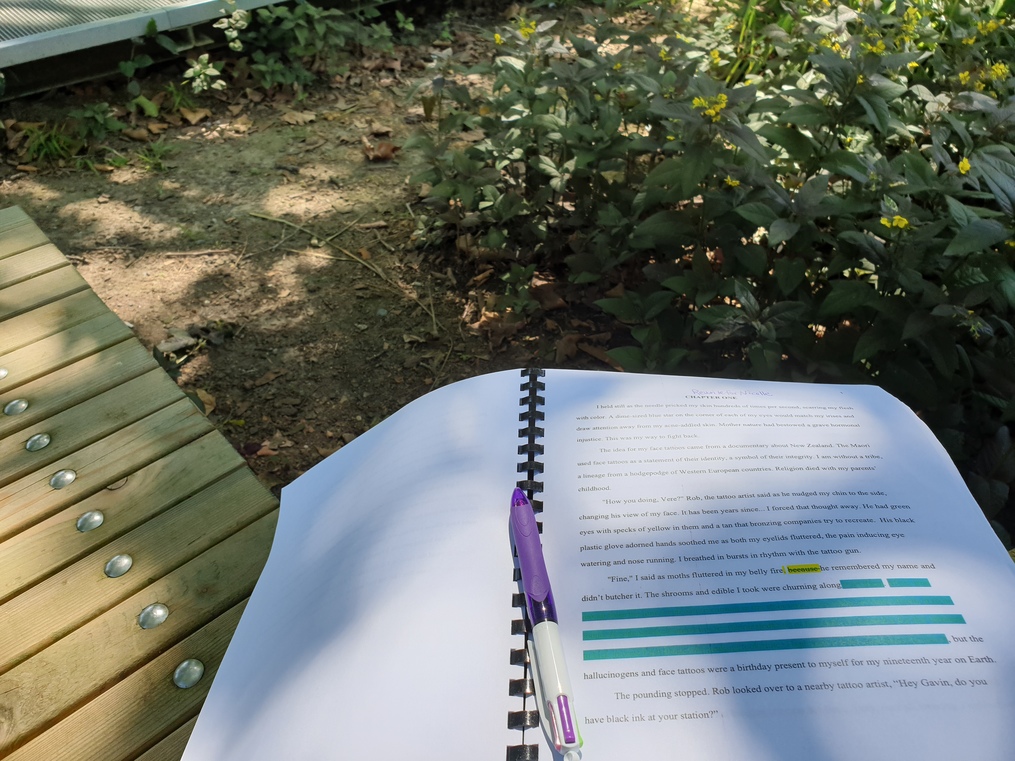
10. Leave your newly bound manuscript out in places at home you can see it to motivate you to write more and take pictures of the outings you take it on.
I leave it out in the living room and it is so inviting, I can't wait to keep adding to it. I also plan on doing a lot of bench hopping and cafe hopping with it this summer. Hopefully, I can take it on some day trips as well to nearby cities. Another idea for something to post on social media besides our writing desks and computers.
I feel so motivated to get to revisions and editing now and a stronger connection to my manuscript since I spent so much time printing it out and binding it.
How do you print out your manuscript for editing? Have you ever tried revising from a binded manuscript? Please leave a comment below.